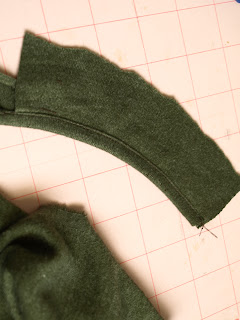
The next step in recreating my favorite t-shirt pattern is to test out some different construction options by sewing up a sample. This sample will also be used to double check fit. I began by testing some binding options on some scraps. I eventually discovered the best method for my machines that gave the best looking results.
Before stitching the neckbinding to the t-shirt, I stitched one shoulder and overedged one edge of the neck binding.
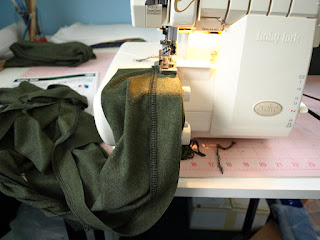
In the picture below I am stitching the binding strip to the neck. The binding strip is on top so that I can stretch it as it goes through the machine. The shirt is supported by the table. Don't let it hang down in front of the machine or gravity will do more stretching of the shirt than you intend. I did edge finish one edge of the binding strip by serging. I didn't have enough green thread, so some of it is in black.
Next, I followed the same steps in stitching the binding to the sleeve hem edge. These sleeves show about how much I stretch the binding as it went through the machine.
I then stitched the remaining shoulder seam closed through the neckbinding. This means there is a visible seam at the shoulder. This type of shoulder - neckline construction is also visible on the original t-shirt.
A few last words on the binding. The original shirt had a double fold binding, which is difficult to reproduce at home without the proper folders and adjustments to your machines. The binding I did is less bulky and easier to execute with home sewing equipment and it turned out just fine.


