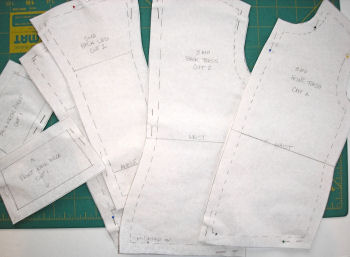
Well I plunged in and drafted Aldrich's classic bodice using metric measurements without ease (size 3mo). I then drafted her sleep-suit block without ease. I had fairly good pictures of a child's full body dress form, so I used that picture to create a more anatomical form. I added shaping for a tummy and rear end. I added 1/2" seam allowances. Here are some of my pieces:

I have already sewn most of it together and stuffed it. I have already discovered some further pattern adjustments for the future. Especially the seam between the front leg and front torso. You can see the wrinkles in the picture below. I think I will angle this line more. The second thing I learned is that to get a truly smooth, surface, you need to create a cardboard body to put inside. I managed to find a piece of lightweight cardboard to put into the torso. I wrapped the cardboard in some pieces of batting and it made a huge difference. Next time, I will add some cardboard tubes to the legs and use a heavier weight of linen, like the professional forms. In this test form, I used muslin. So far, I am fairly pleased.

I have to finish sewing on the armhole pieces and finish up the neck. And then I have to figure out how to suspend this form. I will likely have to create my own stand...

No comments:
Post a Comment