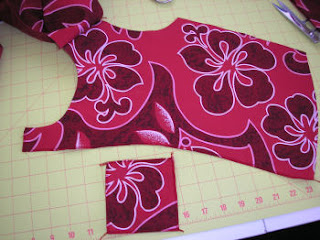
A boy's shirt pattern fix for Butterick 6030 pt. 1 is here
A boy's shirt pattern fix for Butterick 6030 pt. 2 is here
A continuation of my boy's shirt pattern fix....
4. Finish collar. Clip neck seam allowances near shoulder seams. Turn seam allowance of top collar under and push the remaining neck seam allowances into collar. Topstitch. Tack facing down along shoulder seams. Notice I included my care/content tag when I topstitched the collar closed.
5. Hem the sleeve. Attach sleeve to armhole flat. Close the side seam and sleeve. At this point I noticed the sleeve cap didn't match up to the armscye. So one more pattern fix to make - I made do for the sample.
At this point I decided not finish up the sample. Instead I put the shirt on the form to look at the overall proportions. The collar area looks nice and right on target.
The overall proportion of the shirt still looks too big for a size 24 months. I didn't make any changes to the original pattern in body width or length and I should have. I will double check those measurements on my pattern and make adjustments. At this point, there is little of the original pattern left and I really should have just drafted my own pattern. The original Butterick 6030 pattern is heading to the trash. BTW, anyone like my two tone work room? I desperately need to repaint it.
Showing posts with label Boys shirt. Show all posts
July 03, 2007
June 28, 2007
A boy's shirt pattern fix for Butterick 6030 pt. 2
Well I spent a few hours working on this pattern and sewed up a sample. I decided to go ahead and do a style similar to the original. My sample is a basic shirt with a convertible collar. Once the patterns are completely worked out, endless style variations can be developed. So far I have corrected:
- Neckline smaller
- Reduced and reshaped front self-facing
- Reduced seam allowances. 1/4" s.a. for the neckline, 3/8" everywhere else.
- Drafted a new collar - a one piece collar that folds in half.
1. Prep work - edge finish the the pocket edges and long edges of facing. Fold collar in half and stitch collar ends (called "close" in the industry). Sew shoulder seams.
2. Details. Turn and press collar. Use a pocket template and press pocket. Stitch pocket hem. Topstitch pocket to left shirt front. Edgestitch collar. I think collars look best edgestitched 1/8" from edge. Further away can look homemade - but depends on style.
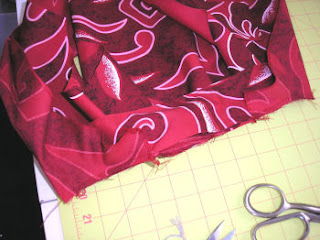
3. Attach collar. This looks more complex than it is. This fabric is hard to see but there are three notches on the collar. Two match up with the shoulder seam and one for the center back neck match-up points. Sandwich the collar between the front facing and neck (notches on shirt front indicate center front neck where collar starts and and another for the fold back of facing). Clip the top collar at the shoulder seam point a little less than the seam allowance depth 1/4". Stitch the collar on using a 1/4" seam allowance, flip the seam allowance of the top collar out of the way. Notice there is no grading and clipping (my least favorite thing to do).
Tomorrow I'll show how to finish the collar, attach sleeves and give a review of the results.
Subscribe to:
Posts (Atom)