You'll know you have a problem when the belt ends up in pieces or the machine is not operating properly. The leather belt on my Singer Hemstitcher 72w-19 machine stretched out over time and my machine was not going as fast as it should. It was time to shorten the belt.
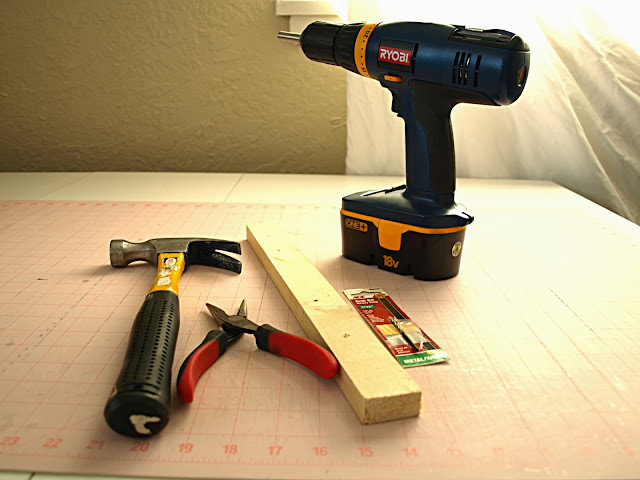
Any workshop should have a toolbox. For this job, you'll need these tools:
- Drill
- 3/32nd drill bit
- Scrap wood
- Pliers
- Hammer
- Utility knife (not pictured)
- Belt clips (not pictured)
One more note. There is a special tool designed to punch a hole in the leather belt for the belt clip. It's expensive. It doesn't work well (from what I'm told) and you don't need it. A drill with the right drill bit works really, really well.
In my case, I first removed the belt from the machine by bending the existing belt clip apart with pliers. You won't be able to reuse it, so don't bother trying to save it (this is why you want a box of 500!).
Next, determine how much to shorten the belt. It won't be as much as you think. If you make the belt too short, the belt won't fit or the belt will exert too much tension on the machine causing the machine to work harder than it should. Using the utility knife, I only shortened the belt 1/4".
About 1/4" from the cut end, drill a hole through the center of the belt. Be sure to drill the hole on top of some scrap wood so you don't damage your work table! You do need your other hand to help steady the belt as you drill, but I was taking a demo picture by myself. All other safe tool handling rules apply.
Place the belt clip through both holes to test, but don't mash the belt clip closed yet (Yes, I've done this!). Take the belt clip off one side and take the belt to the machine and thread it through the holes in the table. Attach the belt clip to the belt ends and place it over the handwheel and motor pulley to test the tension.
How much tension is needed? It depends on your machine. You need just enough to turn the handwheel properly. In the photo below I'm testing the tension (or slack) on the belt. This is about how much I need to have the machine operate properly.
Finally, mash the belt clip closed with the pliers (sometimes you need a hammer) and you're good to go. It's amazing that a 1/4" shorter in length makes a big difference!


Nicely done tut, I love the photos. Thanks for confirming that I've done it right all along, (except for having real clips) LOL
ReplyDelete